
In the high-stakes arena of blockchain development, Sui Move stands out for Sui Move NFT minting with its object-centric model that enforces resource safety from the ground up. As we push into 2026, crafting a production-ready Sui NFT smart contract demands precision: no room for sloppy code that invites exploits. This tactical guide arms you with step-by-step code to deploy a battle-tested NFT minting contract on the Sui blockchain, leveraging admin controls, transfer guards, and event emissions for real-world resilience.
Sui NFT Minting Mastery: 6 Tactical Steps to Deploy
Sui's Move language flips the script on traditional smart contracts by treating assets as first-class objects. Forget the pitfalls of reentrancy or double-spends; here, every NFT is a sovereign entity with defined abilities. Our blueprint follows six core maneuvers, starting with foundational setup to ensure your Move language NFT tutorial yields deployable gold.
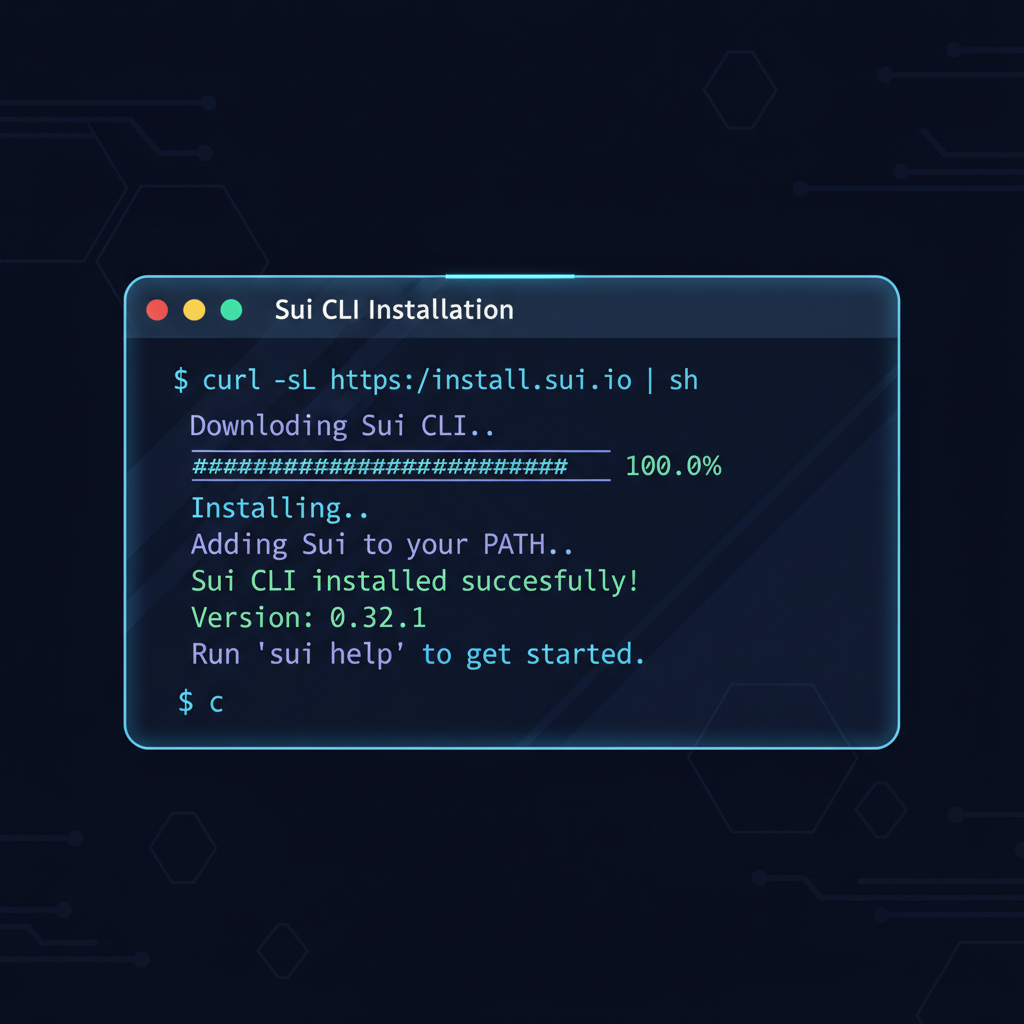
1. Install Sui CLI and Initialize a Developer Wallet
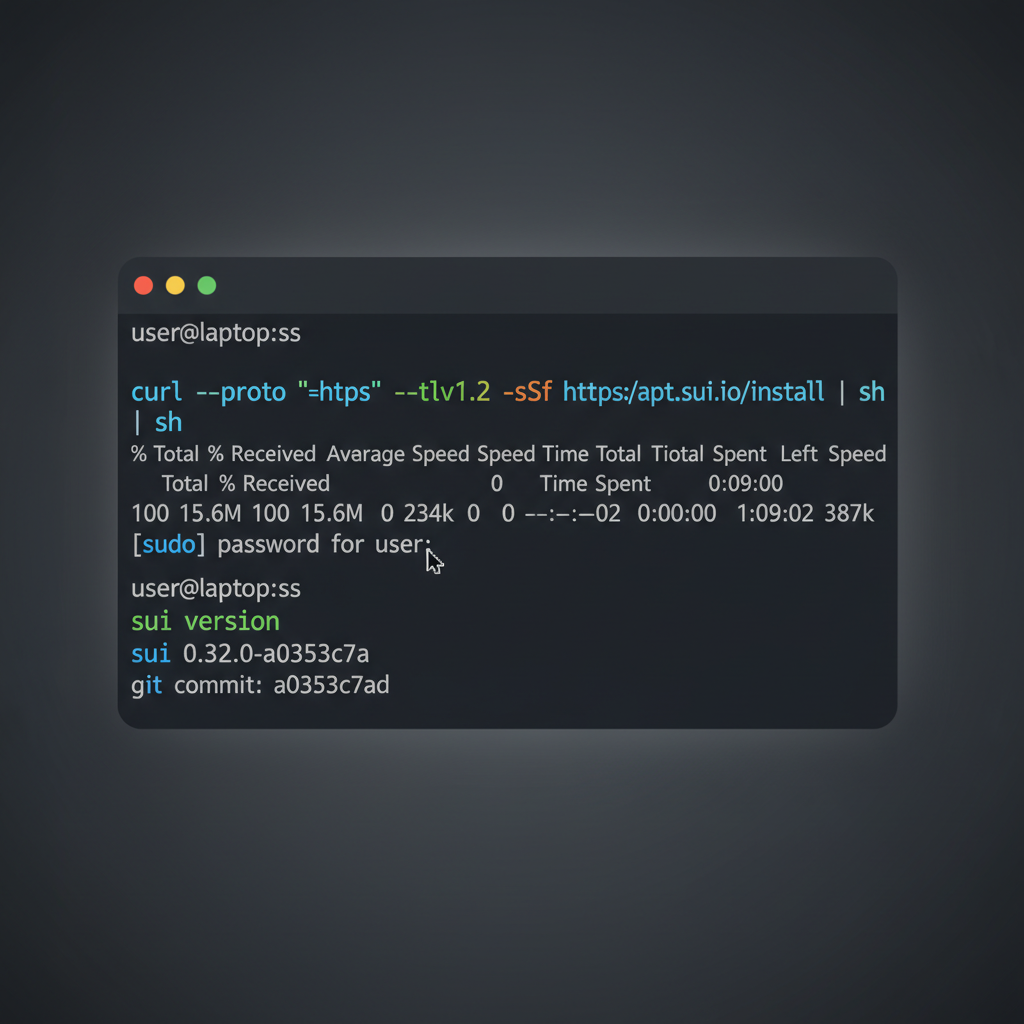
Precision begins with tools you can trust. The Sui CLI is your command center for building, testing, and launching Sui blockchain NFT deployment. Download the latest version from official channels, then verify installation via sui --version. Tactical edge: always pin to stable releases to dodge breaking changes mid-project.
Master Sui CLI Setup: Install, Wallet Creation & Testnet Funding
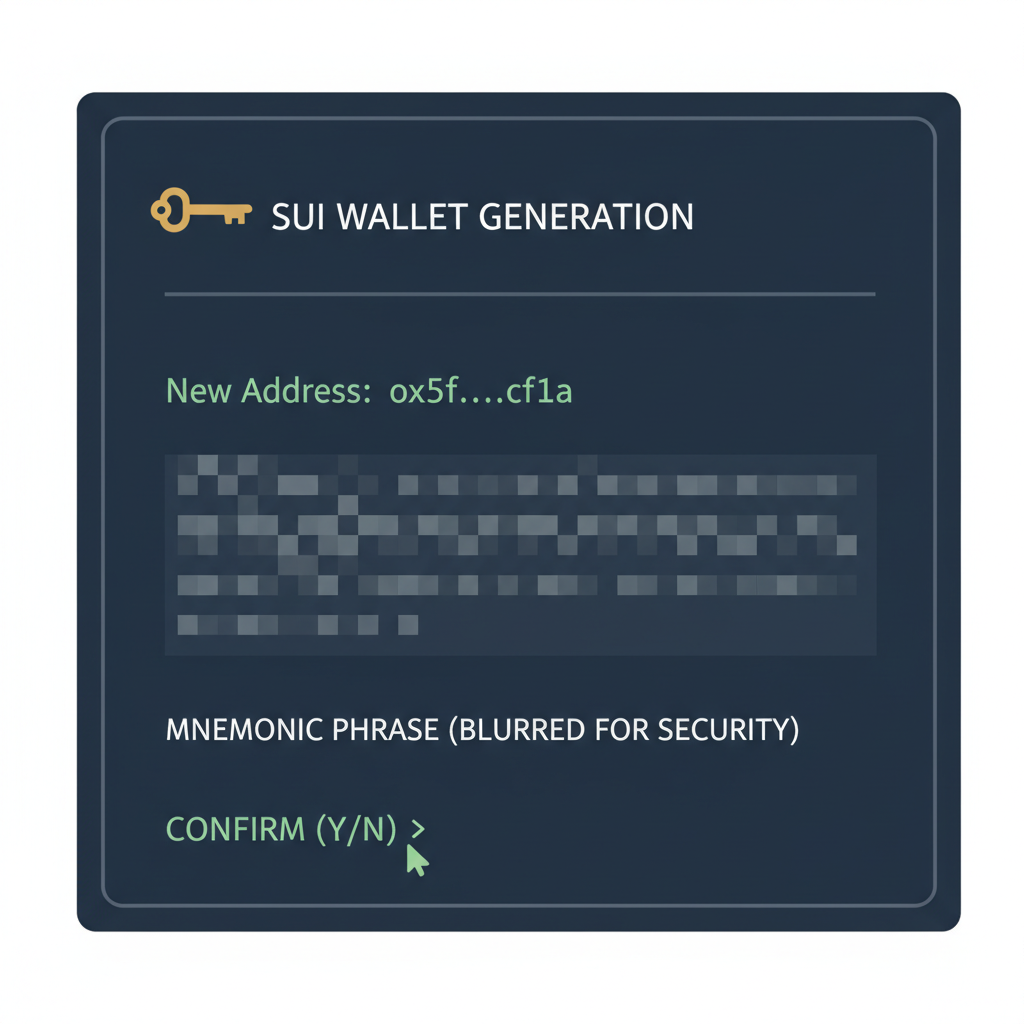
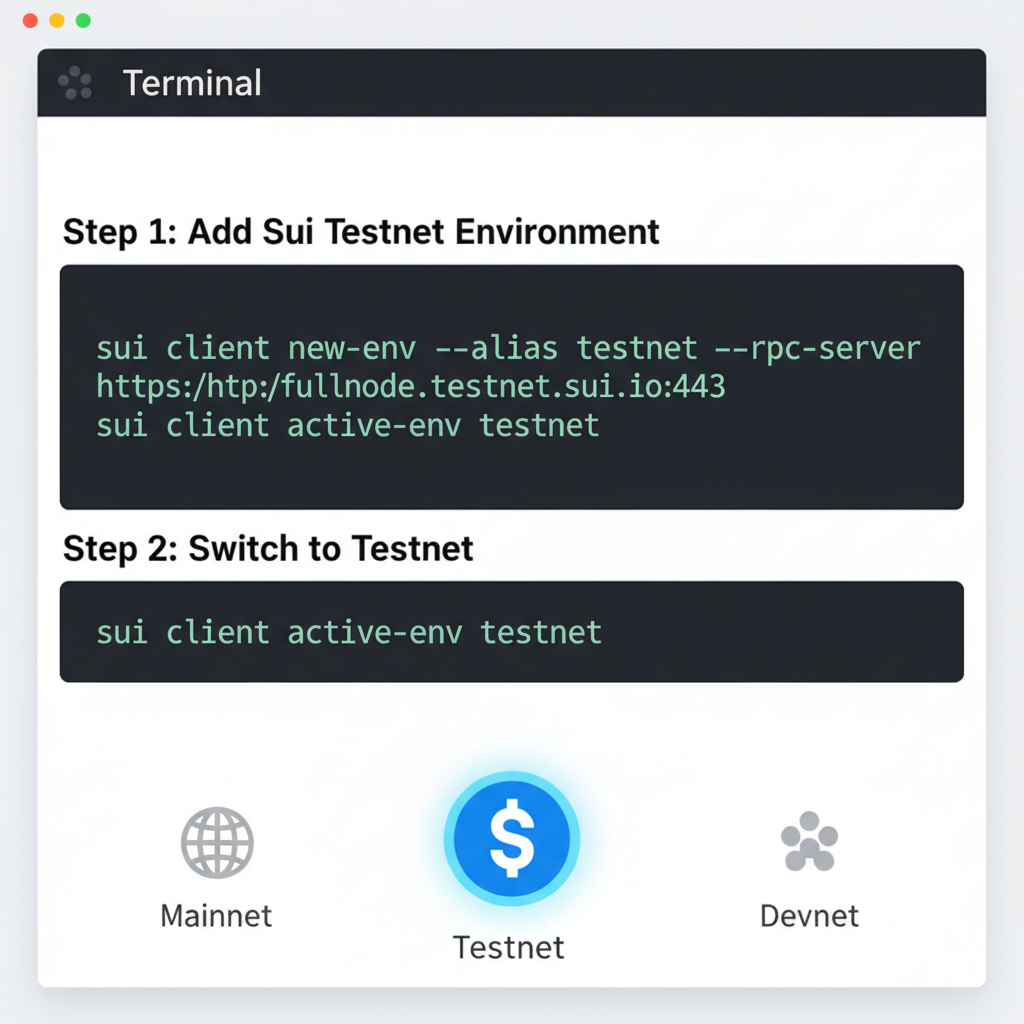
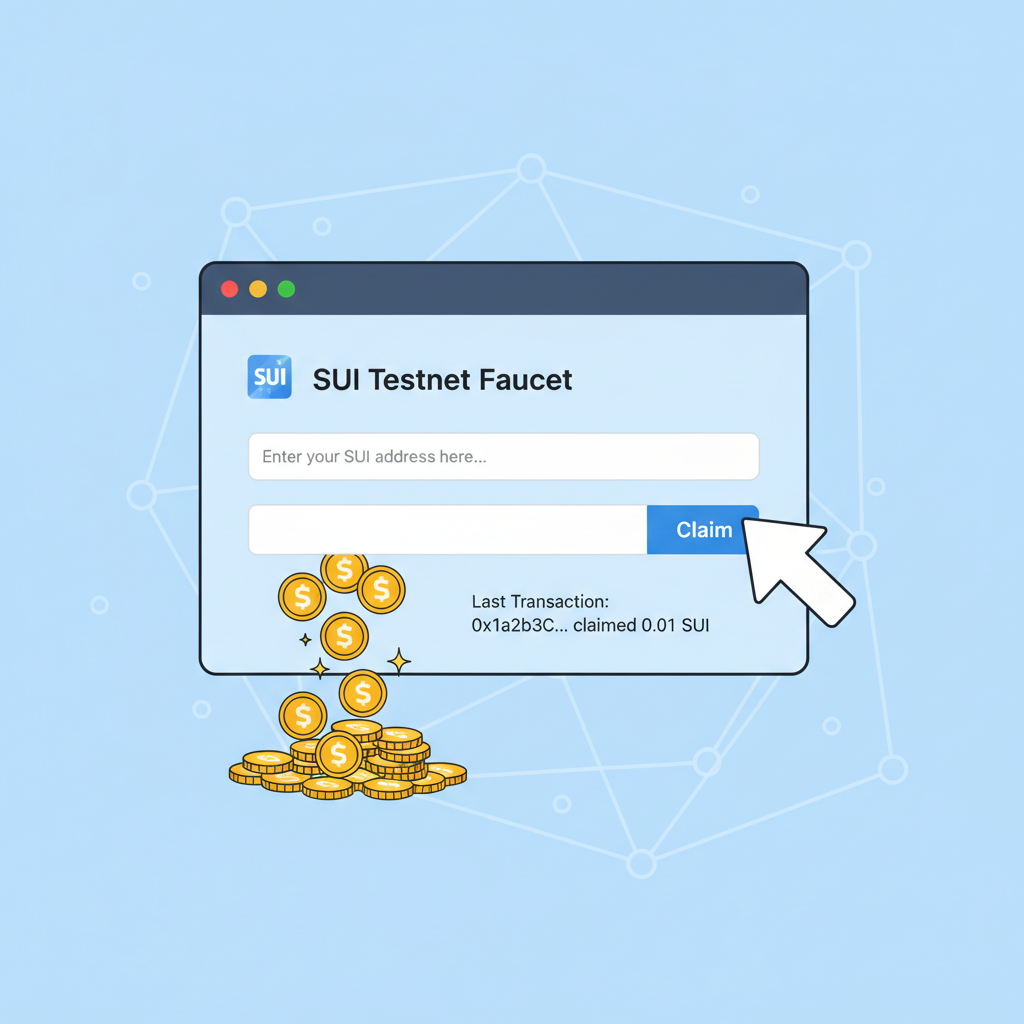
Next, forge a developer wallet: sui client new-env --alias devnet followed by sui client switch --env devnet and sui client new-address ed25519. Fund it with testnet SUI from the faucet; this isn't play money, it's your proving ground. I favor hardware wallet integration early, as hot wallets tempt fate in live deploys. With CLI humming and wallet primed, you're locked and loaded for package creation.
2. Create a New Sui Move Package with NFT Module
Modular architecture wins wars. Invoke sui move new sui_nft_minter to scaffold your package. This generates Move. toml and a sources directory primed for combat. Edit Move. toml to declare dependencies like sui = { git = "https://github.com/MystenLabs/sui.git", subdir = "crates/sui-framework/packages/sui-framework", rev = "framework/testnet" }, tailoring to testnet or mainnet as needed.
Scaffold and Configure the NFT Minter Package
Architect the foundational structure for your Sui NFT minting contract with these tactical CLI commands. This scaffolds the package and calibrates Move.toml for seamless integration and deployment on the Sui mainnet.
sui move new nft_minter --force\ncd nft_minter\ncat > Move.toml << 'EOF'\n[package]\nname = "nft_minter"\nversion = "0.0.1"\nedition = "2024.beta"\n\n[dependencies]\nSui = { git = "https://github.com/MystenLabs/sui.git", subdir = "crates/sui-framework/packages/sui-framework", rev = "framework/mainnet" }\n\n[addresses]\nnft_minter = "0x0"\nEOFThe package is now meticulously configured, poised for module development. Advance to crafting the NFT minting logic in the `sources/` directory.
Dive into sources/nft_minter. move. This module will house your Sui Move contract example, isolating NFT logic for reusability. Pro tip: name modules descriptively; nft_minter signals intent, aiding audits and team handoffs. Scaffold the module header:
module sui_nft_minter: : nft_minter { use sui: : object: : {Self, UID}; use sui: : tx_context: : TxContext;//More imports to follow }Compile early with sui move build to catch syntax gremlins. This step cements your foundation, setting the stage for struct definition where Sui's object model shines.

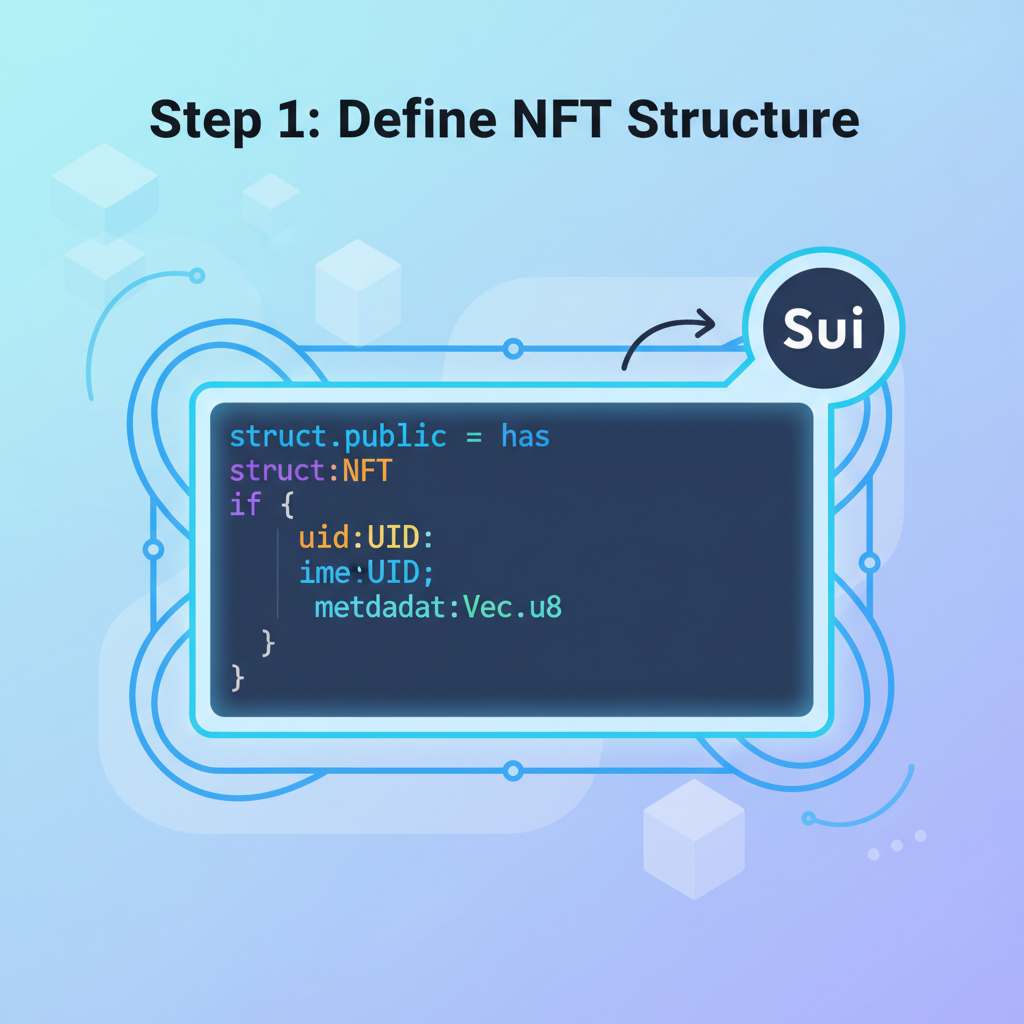
3. Define NFT Struct with UID, Metadata, and Key Abilities
Objects rule Sui; structs are their blueprints. Declare your NFT as:
public struct NFT has key, store { id: UID, name: String, description: String, url: Url, }The key ability anchors it as a top-level object; store permits nesting in kiosks or wallets. UID ensures global uniqueness, minted via object: : new( and mut tx_context). Metadata fields like name, description, and url fuel marketplaces; make url point to IPFS for permanence.
Tactically, embed version or edition fields upfront: edition: u64. This prevents dilution in collections. Abilities are non-negotiable; omit key, and your NFT floats untethered. Test instantiation in a dummy function to validate:
public fun create_nft( ctx: and mut TxContext, name: String, description: String, url: Url ): NFT { NFT { id: object: : new(ctx), name, description, url, } }Build again; errors here are cheap fixes. With struct locked, admin capabilities await to gate minting like a vault door.
This triad of steps positions you for secure minting logic, where capabilities enforce single-source authority. Halfway mark: your package breathes, ready for the heavy lifts ahead.
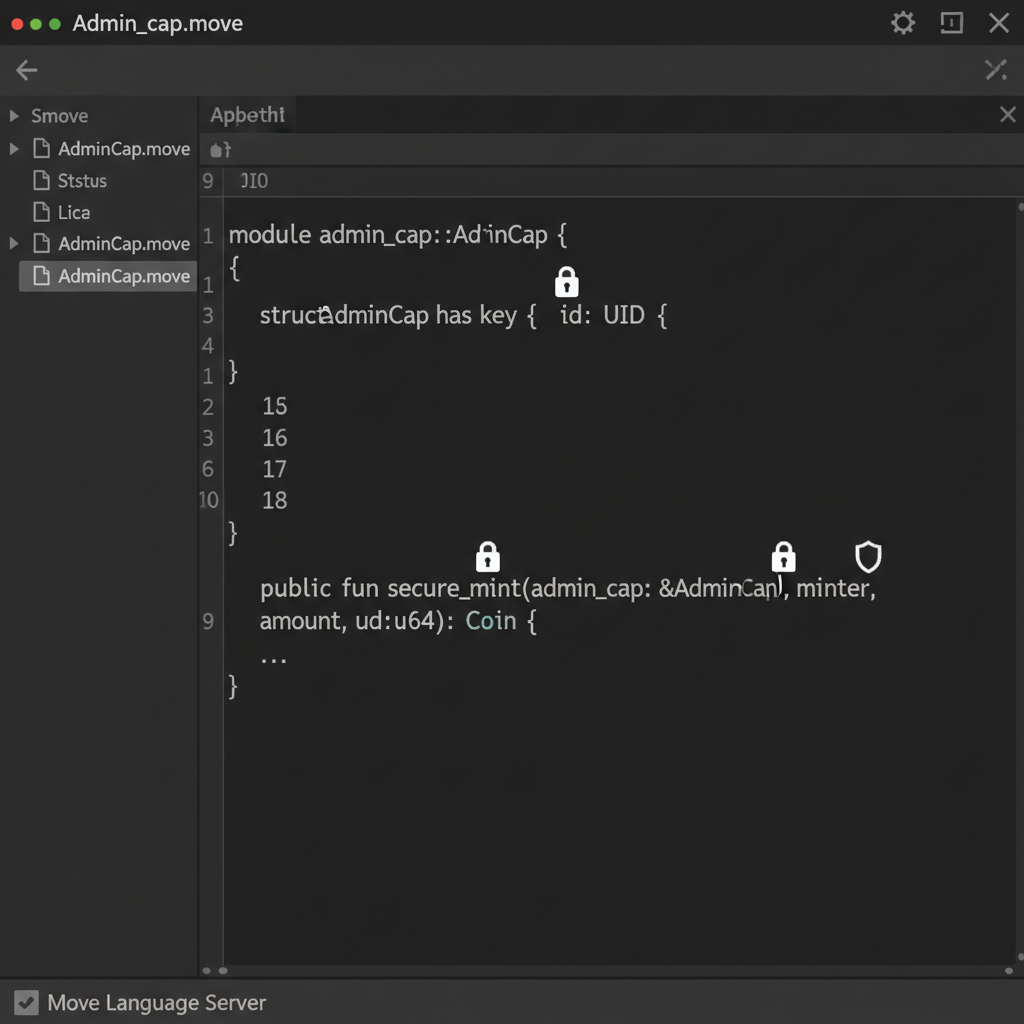
4. Implement Admin Capability and Secure Mint Function
Control is currency in NFT minting; without it, your Sui Move NFT minting operation devolves into chaos. Introduce an AdminCap struct to monopolize mint authority: public struct AdminCap has key { id: UID }. Mint this cap once during initialization and transfer it to the deployer. The mint function now demands this cap as proof of legitimacy, slashing unauthorized mint risks.
AdminCap Struct and Capability-Secured Mint Function
To architect a fortified minting mechanism, we introduce the AdminCap struct as a capability token. This one-of-a-kind object must be referenced in mint transactions, enforcing that only its custodian can authorize NFT creation. Execute mint_admin_cap once post-deployment to instantiate it.
```move
/// Secure NFT Minting with AdminCap

module nft_minter::nft {

    use sui::object::{Self, UID};
    use sui::tx_context::{Self, TxContext};
    use sui::transfer;
    use std::string::{Self, String};

    /// Capability for admin to mint NFTs
    struct AdminCap has key {
        id: UID
    }

    /// Core NFT object
    struct NFT has key, store {
        id: UID,
        name: String
    }

    /// One-time function to mint the AdminCap to deployer
    public entry fun mint_admin_cap(ctx: &mut TxContext) {
        transfer::transfer(
            AdminCap {
                id: object::new(ctx)
            },
            tx_context::sender(ctx)
        );
    }

    /// Secure mint: requires &AdminCap for authorization
    public entry fun mint(
        admin_cap: &AdminCap,
        ctx: &mut TxContext
    ) {
        let nft = NFT {
            id: object::new(ctx),
            name: string::utf8(b"Sui NFT 2026")
        };
        transfer::public_transfer(nft, tx_context::sender(ctx));
    }
}
```
This capability-gated mint function tactically precludes unauthorized emissions, embodying Sui's object-centric security paradigm. Safeguard the AdminCap's object ID for subsequent mint operations, ensuring precise control over your NFT supply.
Entry point sharpens the blade: public entry fun mint_nft(admin: and amp;AdminCap, name: String, description: String, url: Url, ctx: and amp;mut TxContext). Inside, assert admin ownership via assert!(object: : borrow_uid(admin) == and amp;object: : id(admin), E_INVALID_ADMIN), then forge the NFT and transfer it. This pattern, drawn from Sui's managed coin examples, ensures only you - or delegated holders - flood the market. Opinion: skip this, and you're begging for rug-pull accusations. Test with a mock admin transfer to simulate team ops.
Gas efficiency tip: batch mints under one tx by vectorizing NFTs, but cap at 100 to dodge timeouts. Your Sui NFT smart contract now hums with gated power, primed for restrictions that preserve value.
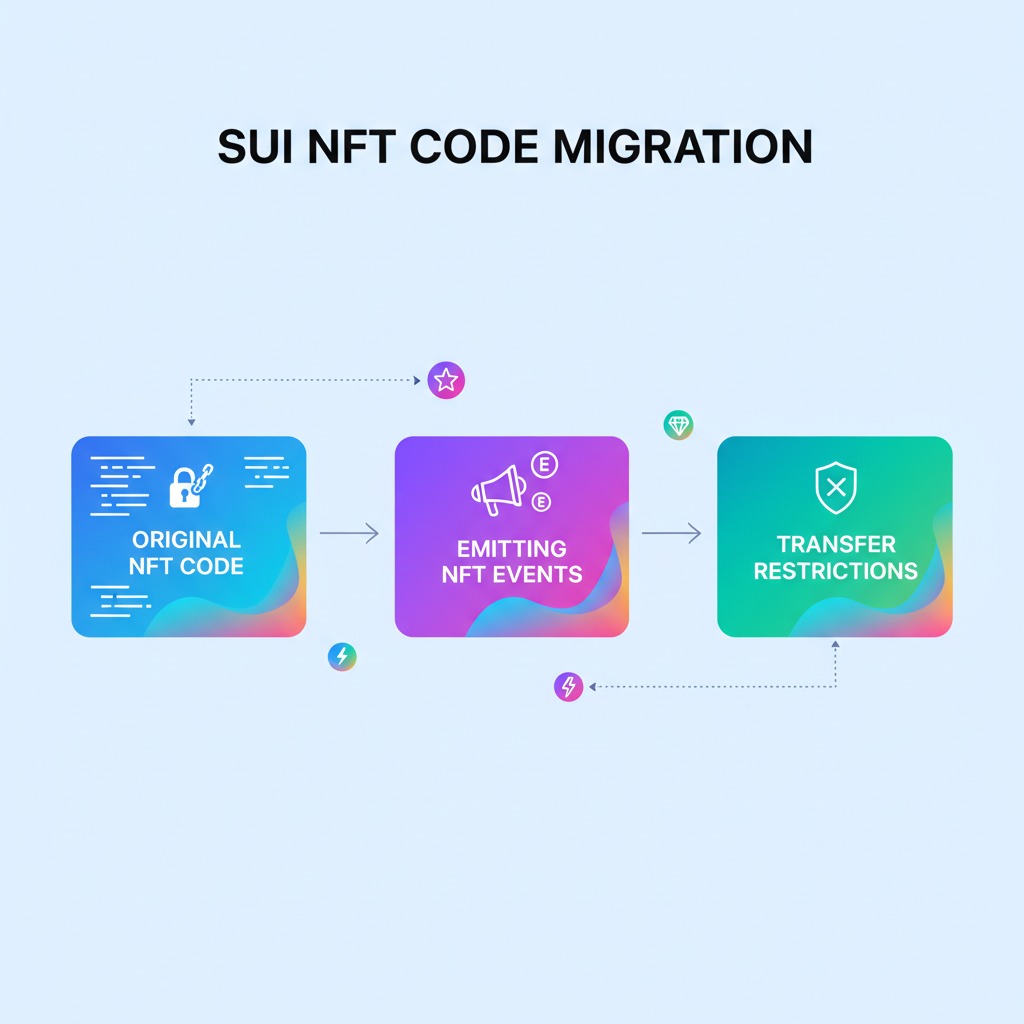
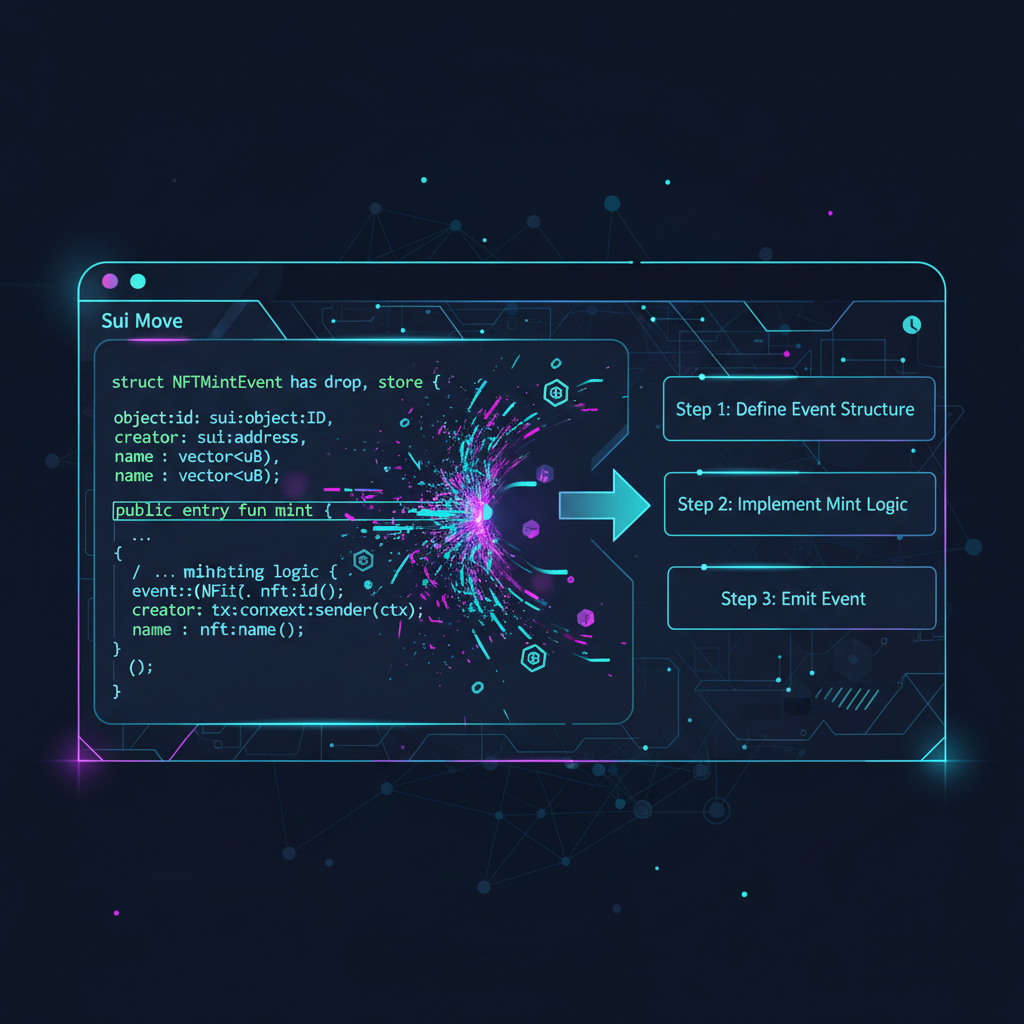
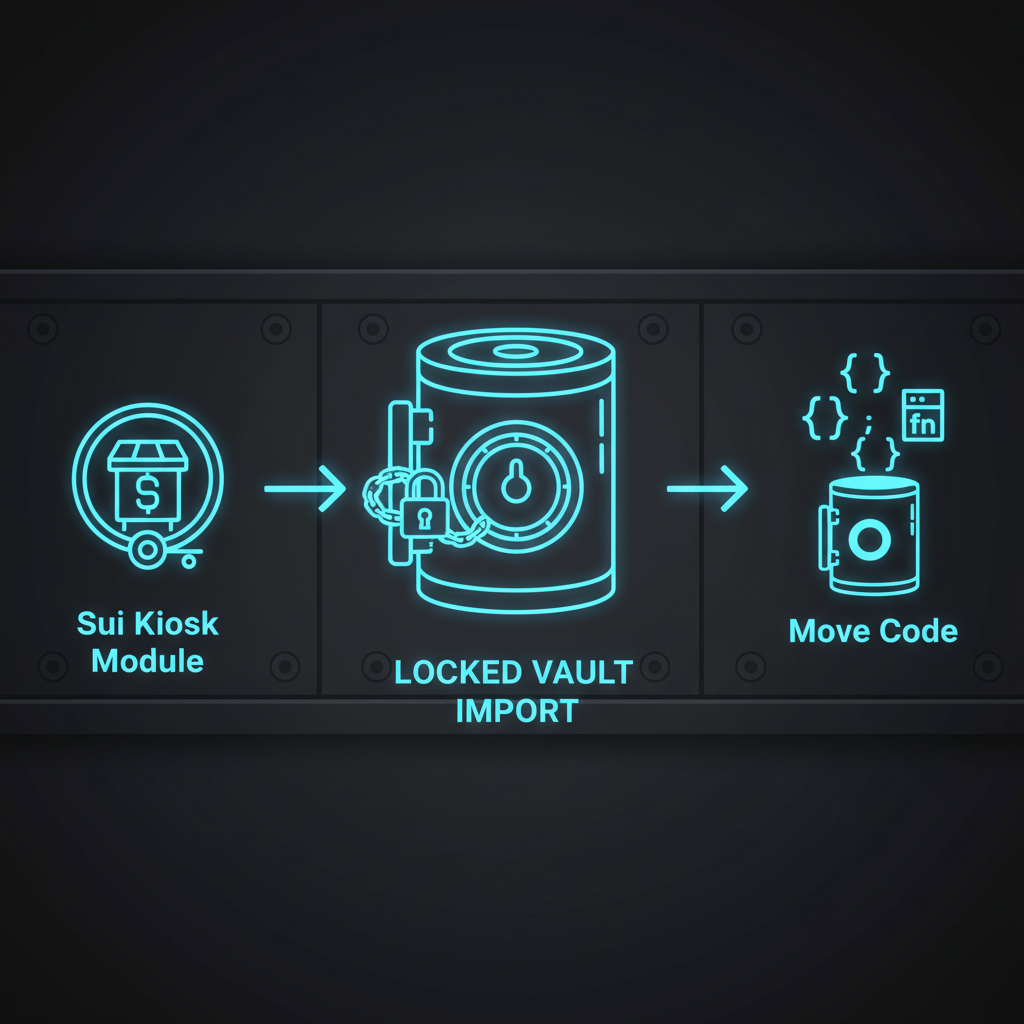
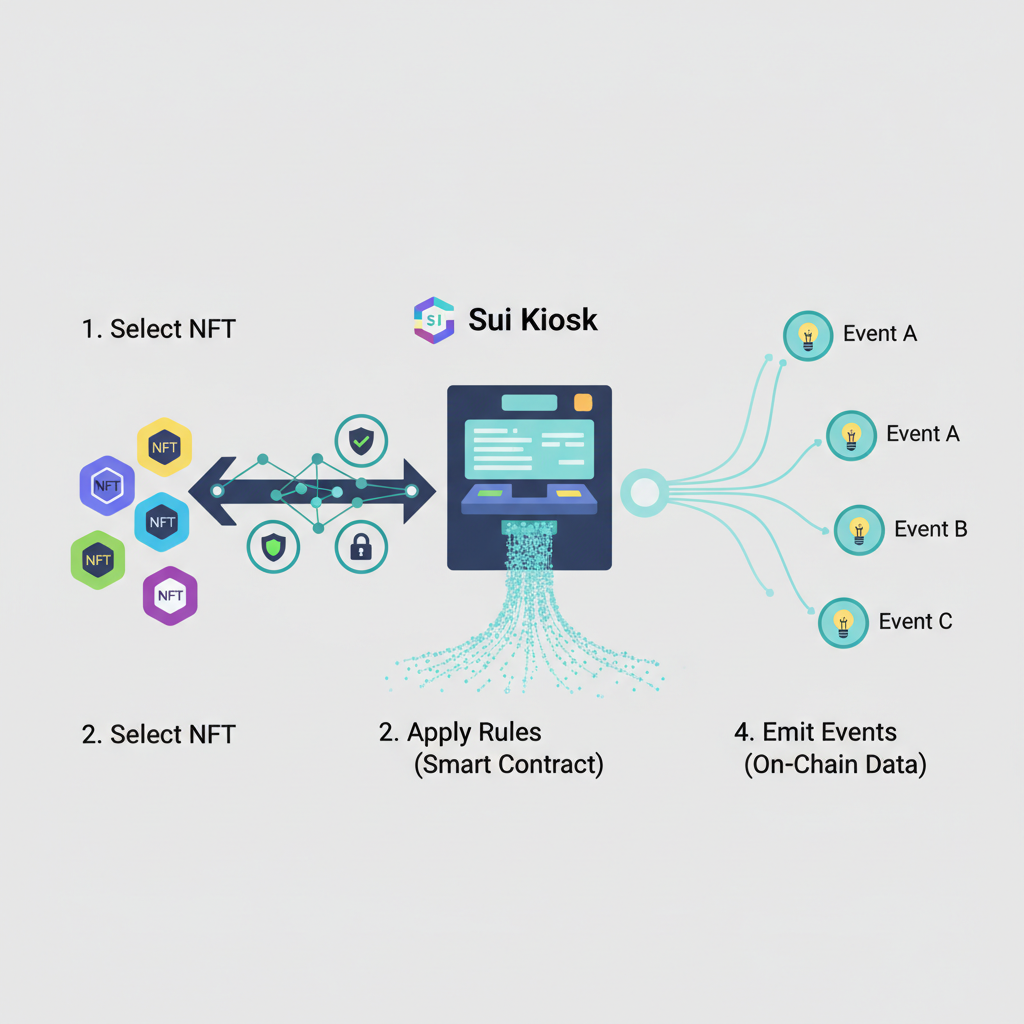
5. Add Transfer Restrictions and Emit NFT Events
Vanilla transfers invite dumps; lock them down. Leverage Sui's kiosk model or custom Witness for restrictions. Define a TransferGuard struct with key, store abilities, embedded in NFTs. Mint-time: pair NFT with guard via transfer: : share_object(guard) or kiosk deposit. Restrict via public fun transfer_with_guard(nft: NFT, guard: and amp;TransferGuard, recipient: address), enforcing royalties or freezes.
Events broadcast intent: struct MintEvent has drop { nft_id: ID, name: String }. Emit via event: : emit(MintEvent { nft_id: object: : uid_to_inner( and amp;nft. id), name: nft. name }). Listeners - indexers, frontends - hook in seamlessly. Tactical: emit TransferEvent too, with from, to, price for marketplace feeds. This telemetry turns your contract into an observable fortress.
Provenance demands it: log edition numbers in events for rarity proofs. With guards and signals firing, your NFTs gain moats; casual flippers hit walls.
Mastering Transfer Restrictions: Sui Kiosks & Event Emission for NFT Security
6. Build, Test Locally, and Deploy to Sui Testnet/Mainnet
Code untested is liability. Hammer sui move build relentlessly, then sui move test for unit fury. Mock TxContext, admin caps; assert NFT fields, event logs. Integration: script CLI calls to mint 50 NFTs, transfer guarded ones, verify balances via sui client object.
Full Test Suite and CLI Commands for Local Validation
Deploying a battle-tested NFT minting contract demands exhaustive local validation. Leverage the Sui CLI to orchestrate a comprehensive test suite, confirming minting logic, access controls, and state transitions under simulated conditions. This tactical regimen preempts deployment pitfalls.
#!/bin/bash

# Navigate to your Move package directory
cd nft_minter

# Ensure dependencies are up to date
sui move build

# Execute the full test suite
sui move test

# Optionally, run tests with detailed gas metrics for optimization
echo "Running tests with gas profiling..."
sui move test --gas 10000000

# Target specific test functions for focused validation
echo "Testing NFT minting specifically..."
sui move test --filter test_mint_nft

echo "Tests completed. Review output for any assertions or gas anomalies."
A clean test execution—zero failures, optimized gas usage—signals your contract's tactical soundness. Proceed to on-chain deployment with calibrated confidence, monitoring for real-world variances.
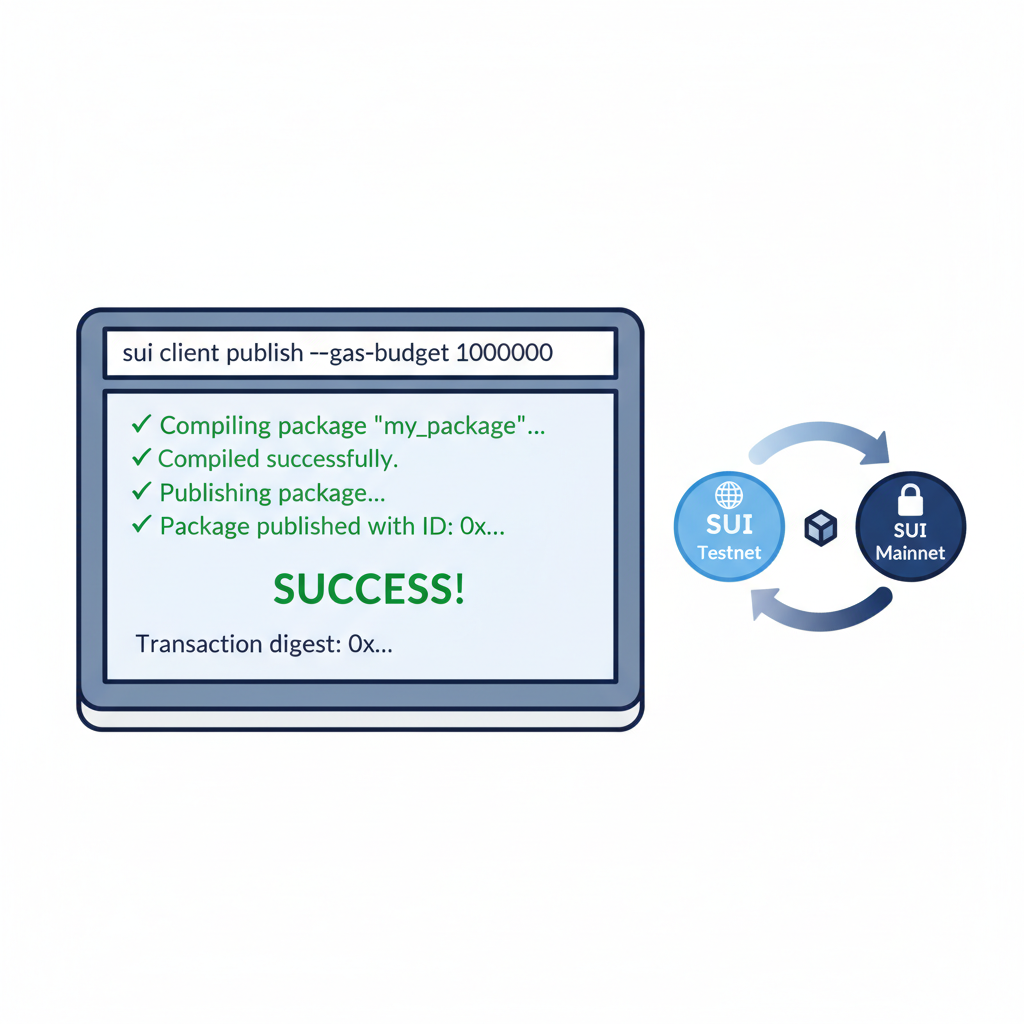
Green lights? Publish: sui client publish --gas-budget 100000000 on testnet first. Note package ID, module functions. Mainnet leap demands audit; fork popular repos like sui-nft-marketplace-sample for patterns. Post-deploy, interact: mint via CLI or SDK, kiosk listings for sales. Monitor events on Sui Explorer.
Scale with upgrades: Witness pattern for v2 without migration hell. Your production Sui blockchain NFT deployment now pulses live, royalties accruing, traders bidding. This Move language NFT tutorial delivers; wield it to mint empires, not echoes. Hardware wallets, audited code, and relentless testing separate deployers from dominators.


No comments yet. Be the first to share your thoughts!